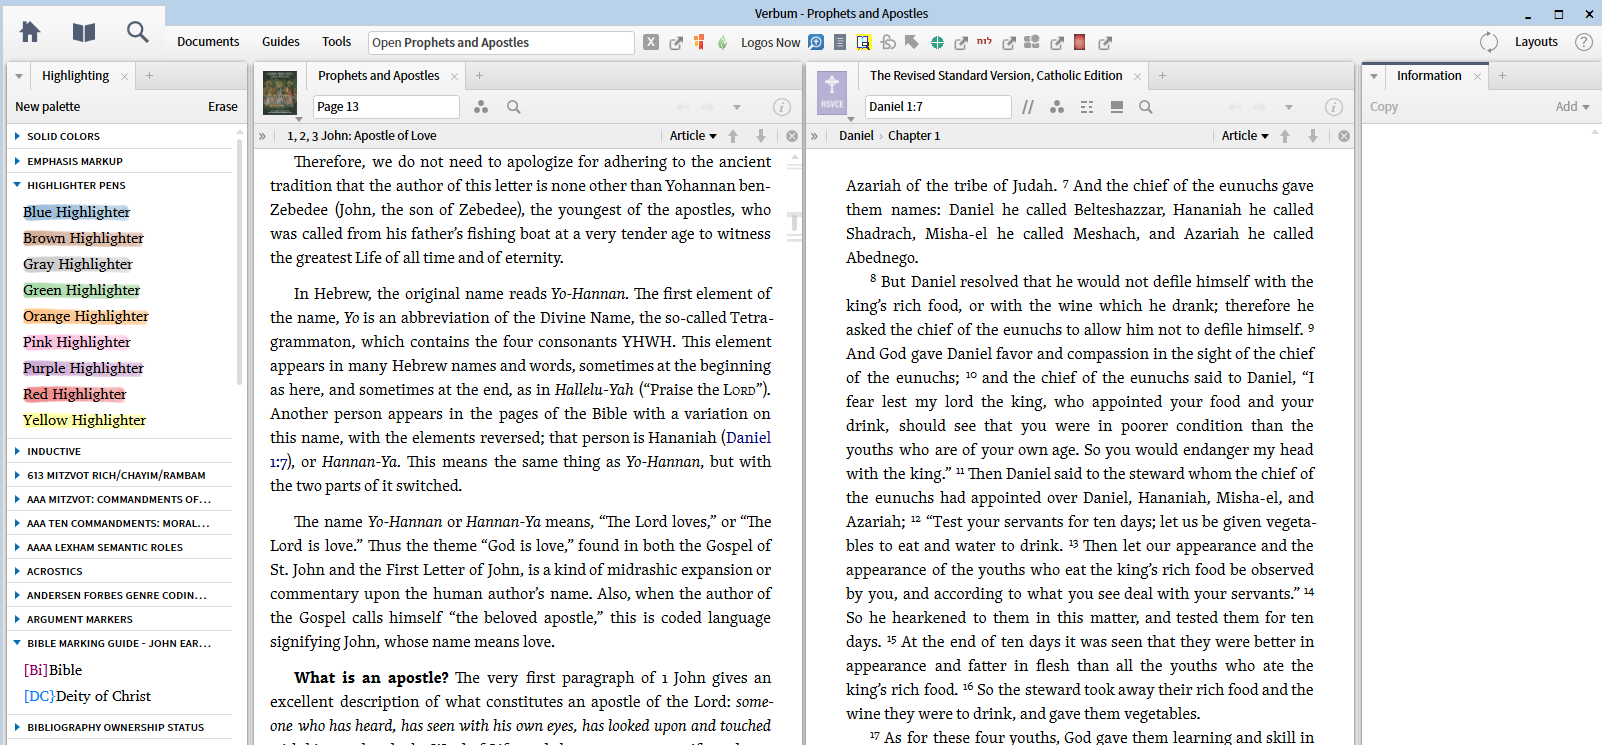
We recently had a new user cancel because he was overwhelmed. We added to his problem as we tried to help him because we provided access to so much information as to overwhelm anyone. This is the first part of an attempt to show what a teacher should do in introducing Logos/Verbum into a class setting consisting primarily of people who have never used a Bible study program, let alone Logos. Along the way there will be tips for instructors as to how to make Logos more useful to the students with very limited libraries.
In this case I am assuming that the student owns the following resources:
- a class study guide: Ponessa, Joseph, and Laurie Watson Manhardt. Prophets and Apostles. Come and See: Catholic Bible Study. Steubenville, OH: Emmaus Road Publishing, 2004.
- a Bible compatible with the guide: Catholic Biblical Association (Great Britain). The Holy Bible: Revised Standard Version, Catholic Edition. New York: National Council of Churches of Christ in the USA, 1994.
- any Bible dictionary
- denominational or program specific required texts: Catholic Church. Catechism of the Catholic Church. 2nd Ed. Washington, DC: United States Catholic Conference, 2000.
First one needs to do some setup so that the program will function appropriate for the course and so the tools and information are available at your fingertips. Most of this setup only needs to be done once although you may modify it as you get used to the study method.
1. When you open the program, one the Home Page you will find a section to Set Your Preferred Bible.
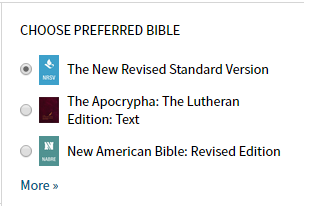
2. If the Bible you want is not listed hit "More"
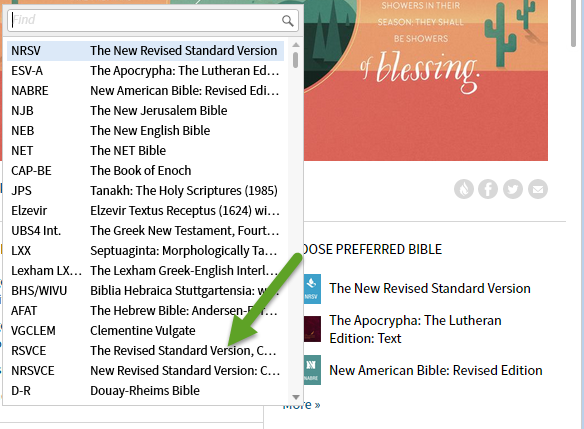
3. Select the Bible of choice - here we want RSVCE .... not most people will have a very short list of Bibles.
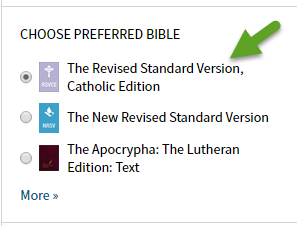
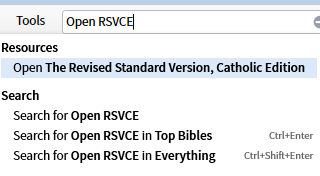
4. Open the RSVCE by typing "Open RSVCE" into the command box and selecting the appropriate expansion.
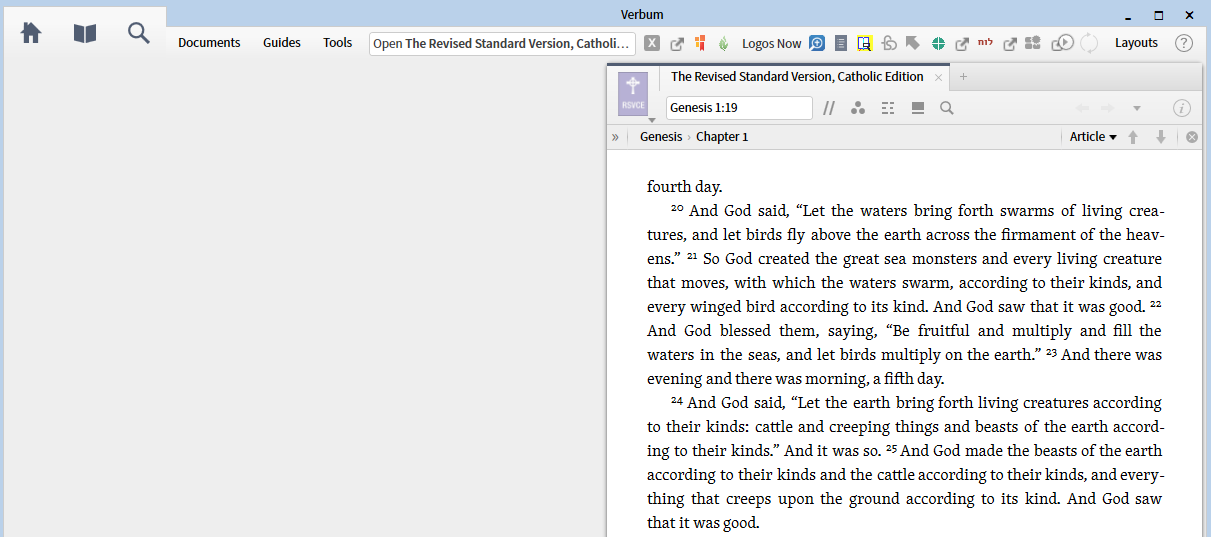
5. This will switch you to the workspace with your Bible open.
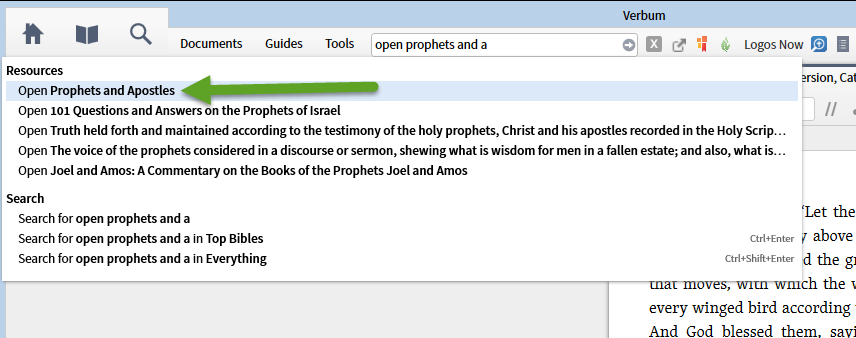
6. Open the Prophets and Apostles study guide in the same way. Type in the Command Box and select the title.
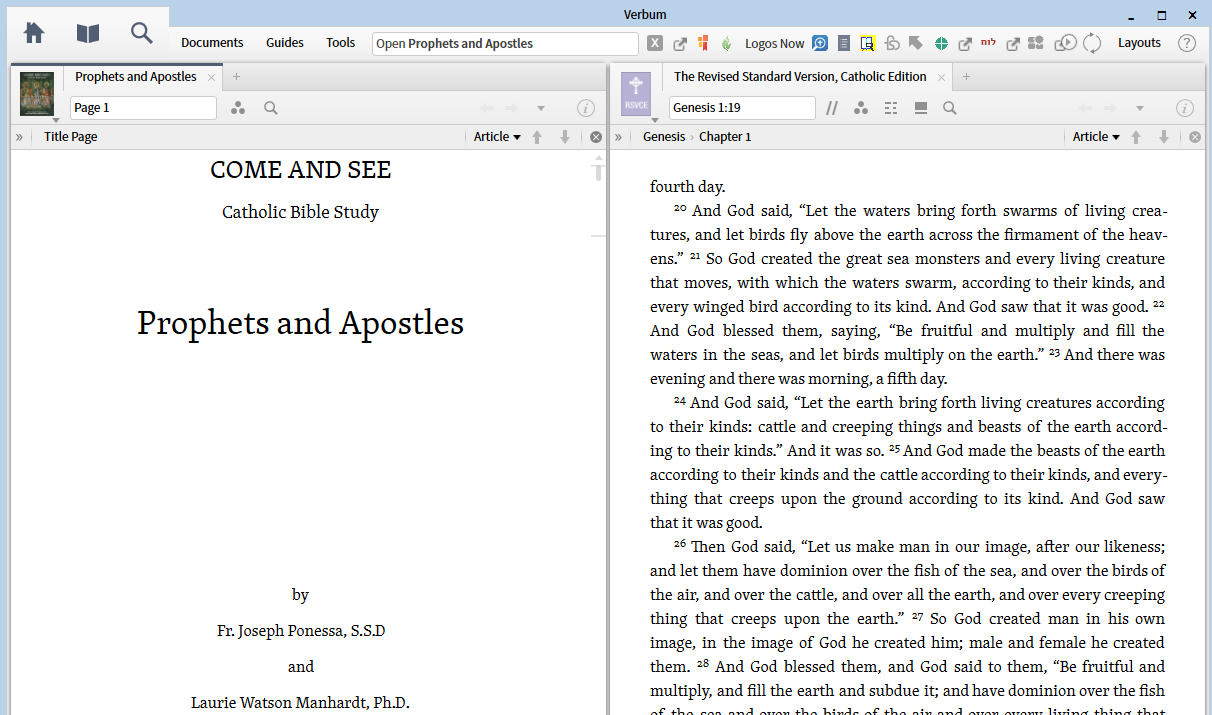
7. You now have both the study guide and the Bible open in your workspace.
8. Scroll down to the index (yes, you will later learn an alternative way to navigate).
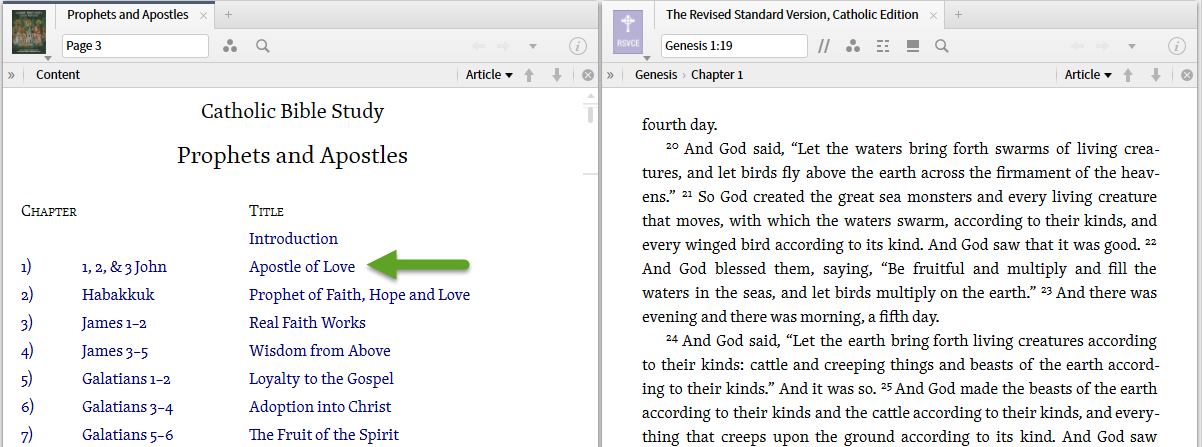
9. Click on the first lesson to navigate to it. We'll begin to see the usefulness of Bible software at this point. Note that when I hover over a Bible reference, I am shown the text in my Preferred Bible translation.
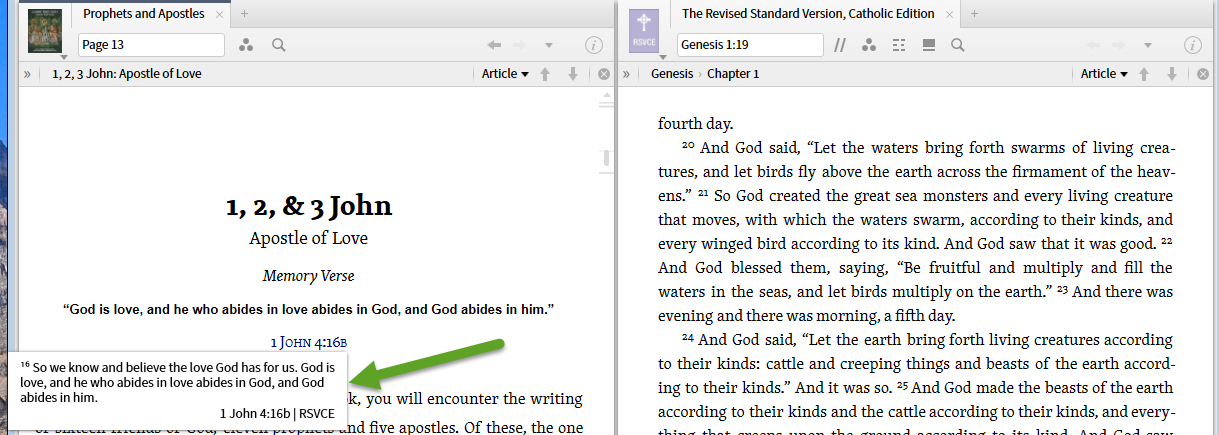
10. If I click on the Bible reference, the open Bible will move to that reference. No more leafing through your Bible to find a passage only after everyone else has moved on.

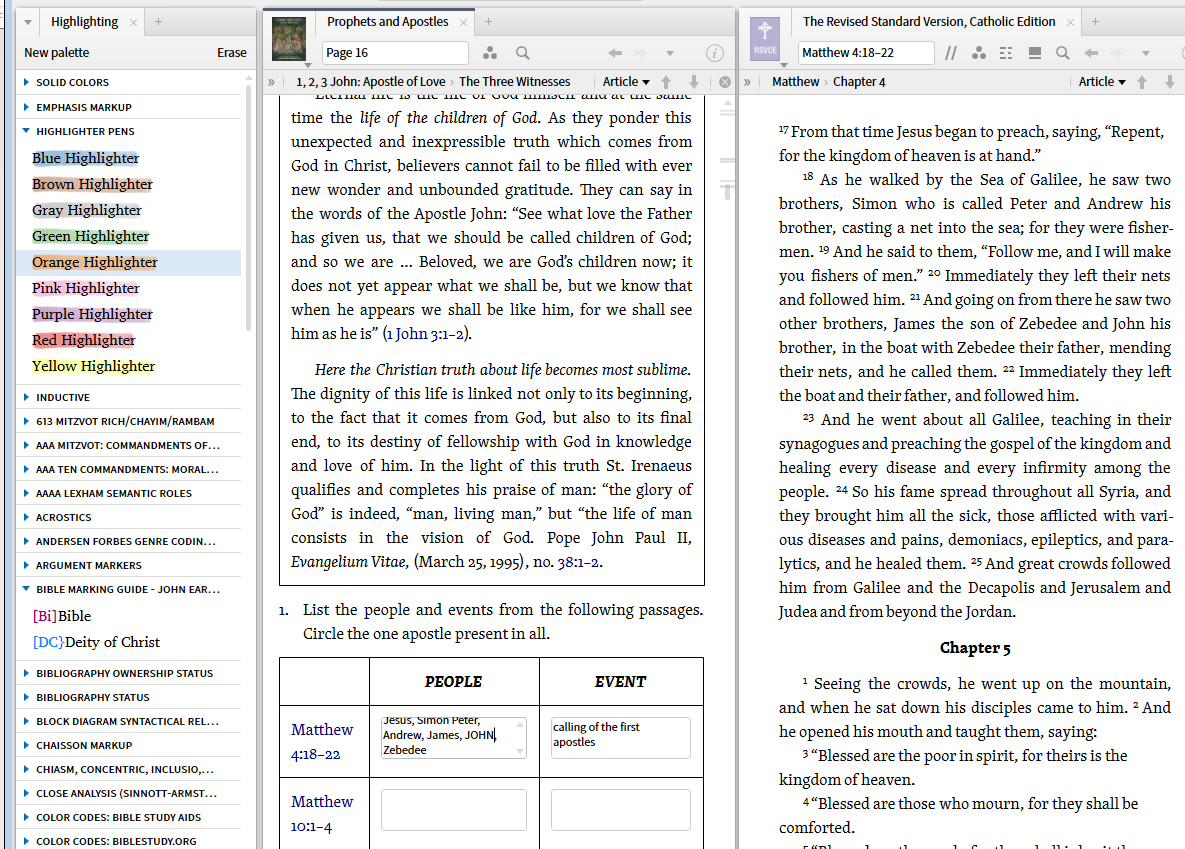
11. Many people want to highlight portions of the text (we'll discuss note taking in another post). To highlight text, open Tools and select Highlighting:
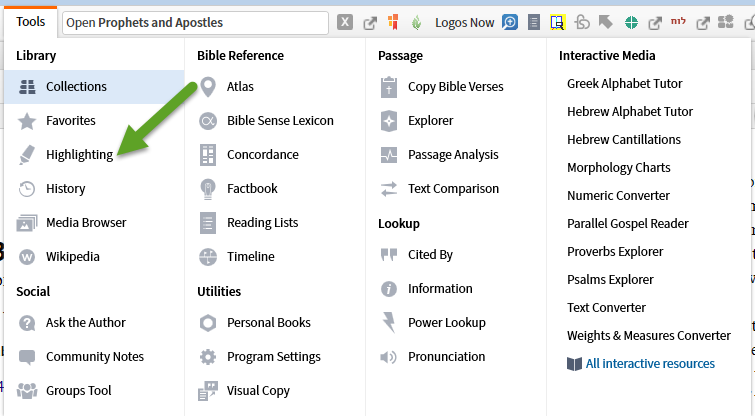
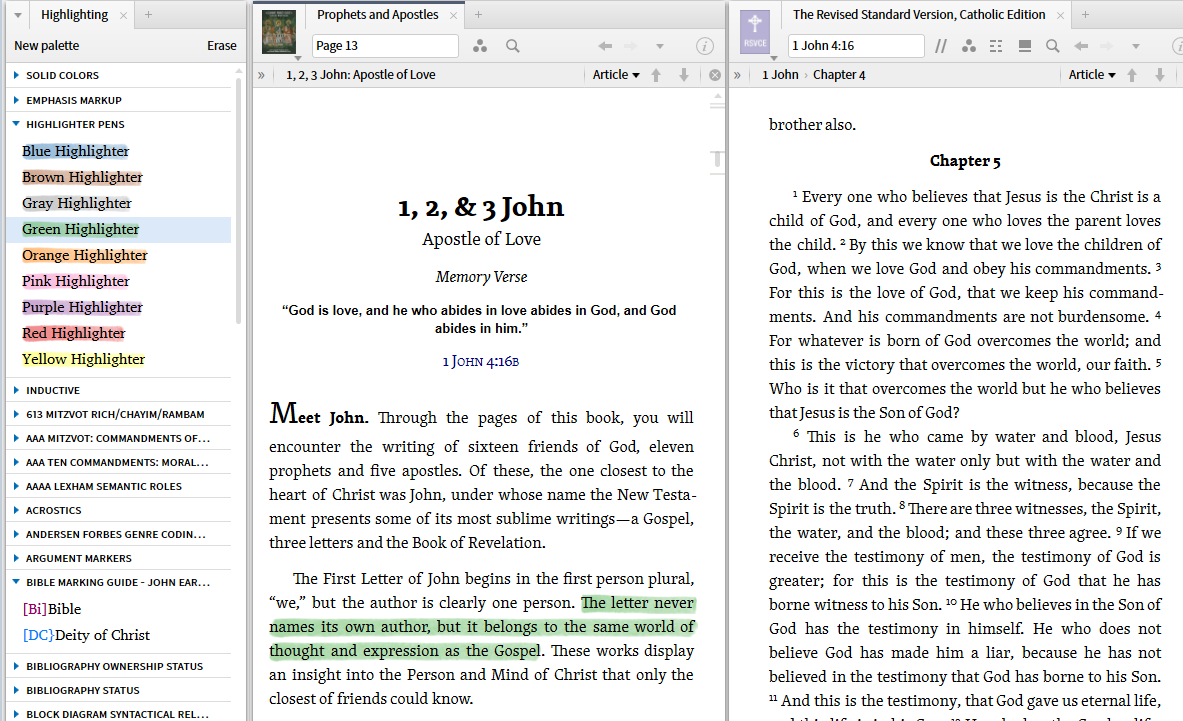
12. This will open a Highlighting tile on the left-hand side of your work space. I've expanded only the Highlighter Pens palette.

13. To highlight a section select it with your mouse. Then click on the highlight you want to apply.
 t
t
14. Now you have highlighted text as if you were using a marking pen.
15. Questions had entry boxes where you can enter your answers. Simply click in the box and start typing. You cannot highlight or modify the fonts in your answers so using Capitals is a substitute for circling John.
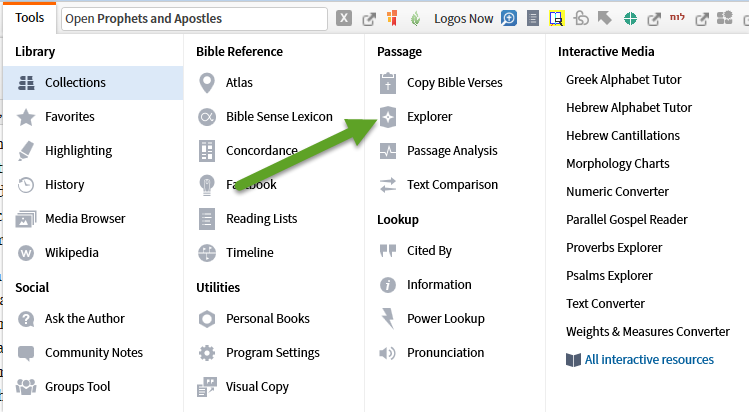
15.Sometimes you run into terms that you need a brief definition of ... you don't need to look up and read a whole Bible dictionary article. For this, open Tools again and select Explorer.
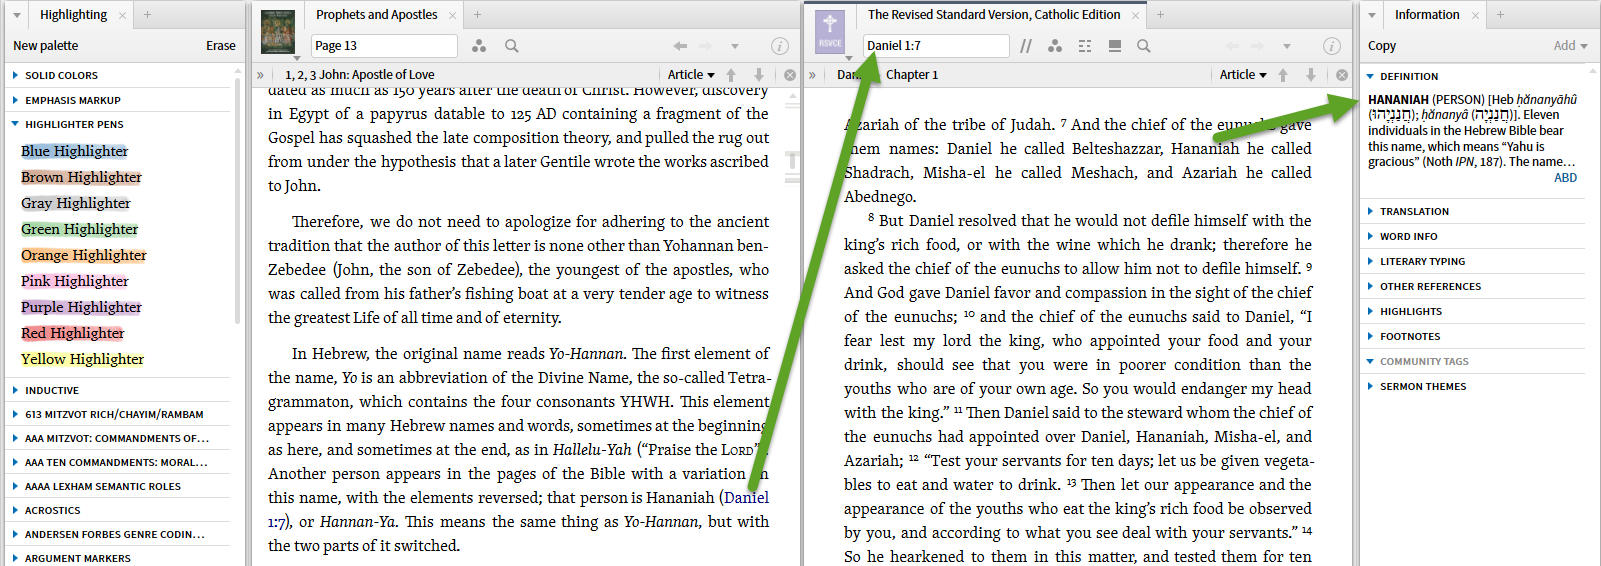
16. This will open an Explorer tile on the right-hand side of your screen. Because the Bible is tagged, you can click on the Bible reference, then within the Bible reference click on the name and the definition will pop up in the Explorer. (yes there are other ways to get to this information that you'll learn later).
17. You don't need to go through all this setup every time you use Logos/Verbum. Click on the word "Layout" in the upper right. Then under the current layout click on "Save as named layout"
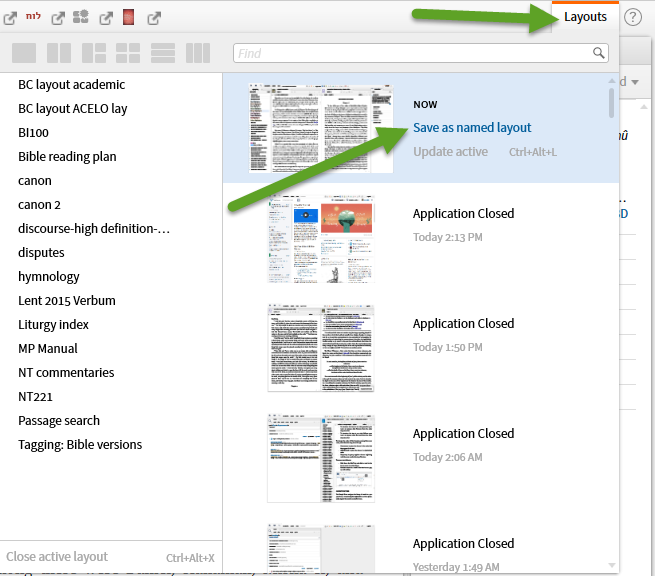
18. Enter a name for the layout. I use the name of the Study Guide.
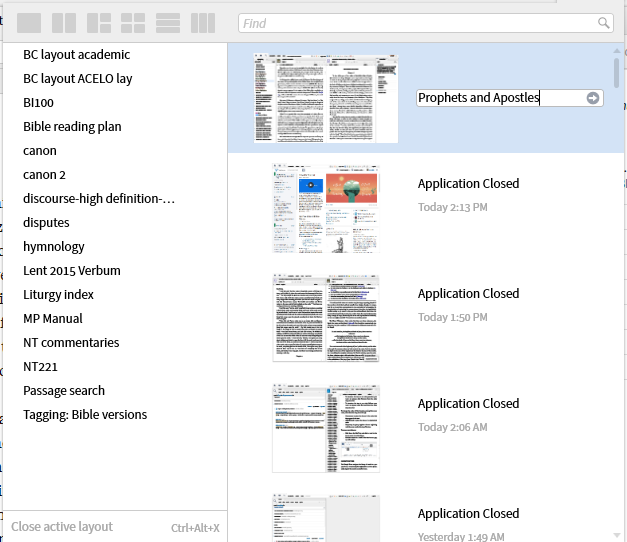
19. You now have a saved layout. Next time you sign on Logos/Verbum you can simply click on Layouts on the Home Page and select "Prophets and Apostles", the name given the layout. All your setup work is saved.
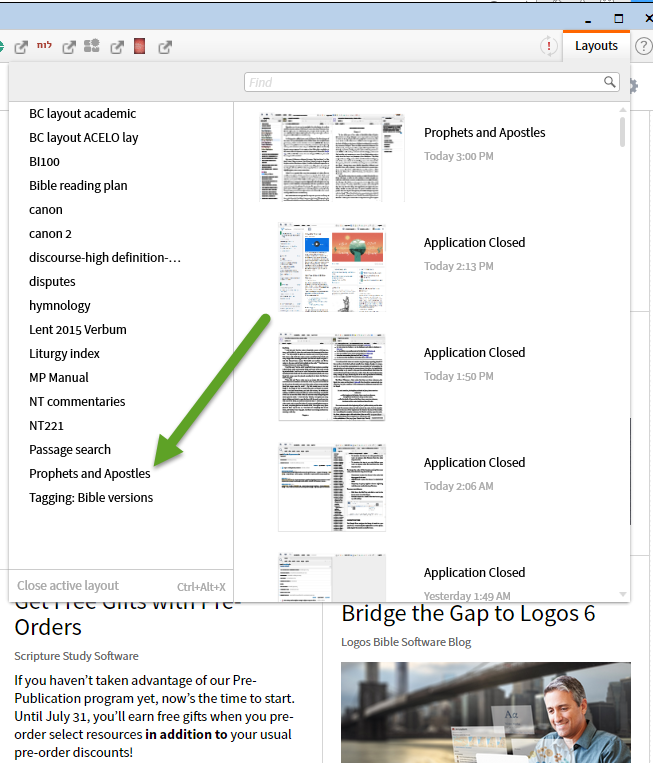
19. Here is what you get from opening the layout ... the layout as it was when you saved it.
