- This wiki page will show you how to add Styles in Microsoft Word to your source document to add a Table of Contents (TOC) to your Personal Book (PB).
Word’s Styles
You should already have the following styles in Word’s style list.
- Heading 1
- Heading 2
- Heading 3
- and so forth
Styles in Word 2003
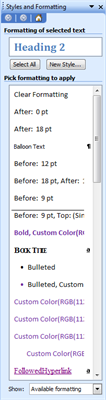
You can view Styles in Word 2003 by clicking in the menu on Format and in the drop down click on Styles and Formatting.

Then you will see the Styles pane appear in Word
Styles in Word 2010
You can view a pane of styles in Word 2010 if you select the Home tab and then click on the corner of the Styles panel
Then you will see the Styles pane appear in Word
Adding the Styles in your Word doc
In your Logos 4 books you should have noticed in some Table of Contents that some entries are indented under other entries. These indented entries are basically articles which are under the non-indented TOC entries.
In your PB Word doc
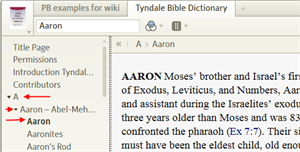
So you will need to select lines in your document that you want to show in the PB’s Table of Contents and then click on a Heading style to tag it. After you tag the lines in your Word document and then build your PB, your TOC entries will appear in your PB. Below is a screen shot showing Word sitting on top of Logos 4’s PB.

Notice how lines marked with style Heading 1 are not indented in your PB’s TOC.
And those which are marked with styles of Heading 2 & Heading 3 are indented under Heading 1.